Getting started in IoT is an exciting time. If you have a software background, it feels like you are coming full circle, and typically, the things you were once scared of don’t seem like that big of a deal.
If you are like me, you bought a hack kit or something with a handful of sensors and a comprehensive guide on putting sample projects together. It is thrilling and petrifying at the same time. You are worried about missing any of the directions. Still, you also dream of what problems you could solve for yourself or your business. After much consideration, you pick a project to tackle without explicit directions.
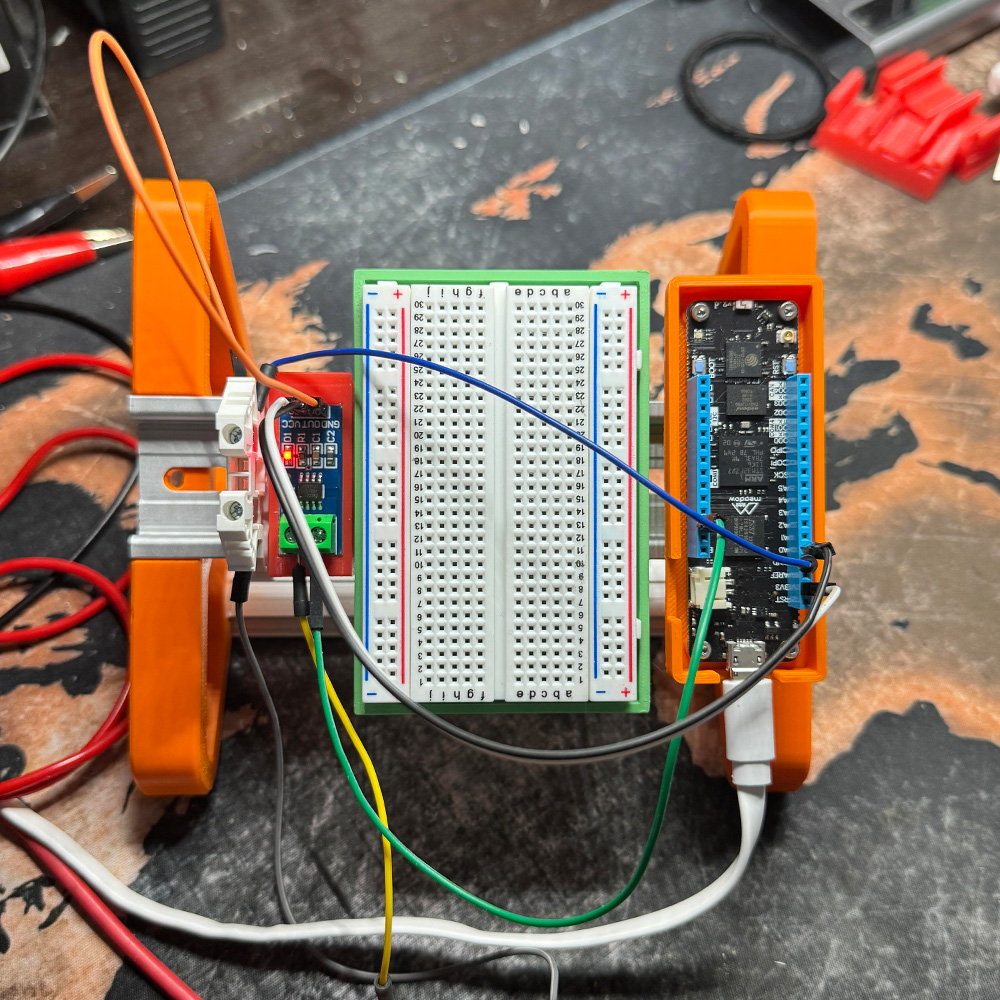
It could be powering some lights and equipment via a website or reading the temperature for a piece of equipment and sending notifications when it is outside the acceptable range. Whatever it is, you know you can’t deploy the solution with the approach you are using during the initial learning phase. Breadboards, short wires, and USB power to a computer for debugging are a great way to learn and build a proof-of-concept. Still, you can’t take that in the real world and expect to not face problems due to the physical limitations of the design.
When I first started with Meadow, this is where my first journey ended. I couldn’t imagine designing a case for my solution. I needed to learn about PCB design and layouts, and there wasn’t much out there on how to get power into the enclosure. I felt I would need to bring someone else into the project or pay someone else to do that work. I knew that, as a developer who people bring in to consult with, a hardware consultant would be something I couldn’t afford. So, what is the point of learning how to use and design hardware to solve problems if there is such a big gap between getting started and selling a product?
I am here to tell you there is hope. The next phase of your project to see if it has legs and can solve your or your company’s problems is not as big of a step as you may think. In this article, I will outline some of the products and approaches you can use to take your project to an early prototype and start testing your projects in the real world.
Project Cases and Enclosures
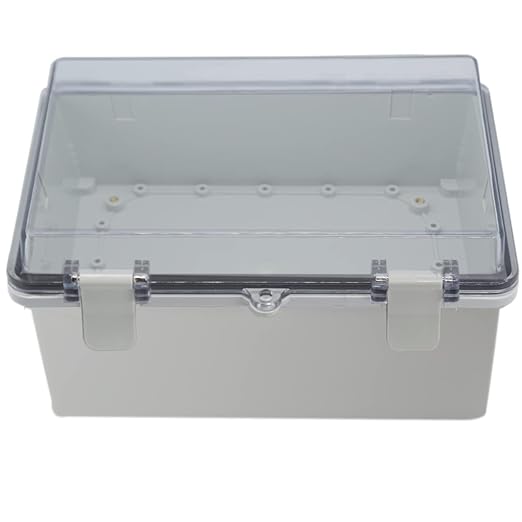
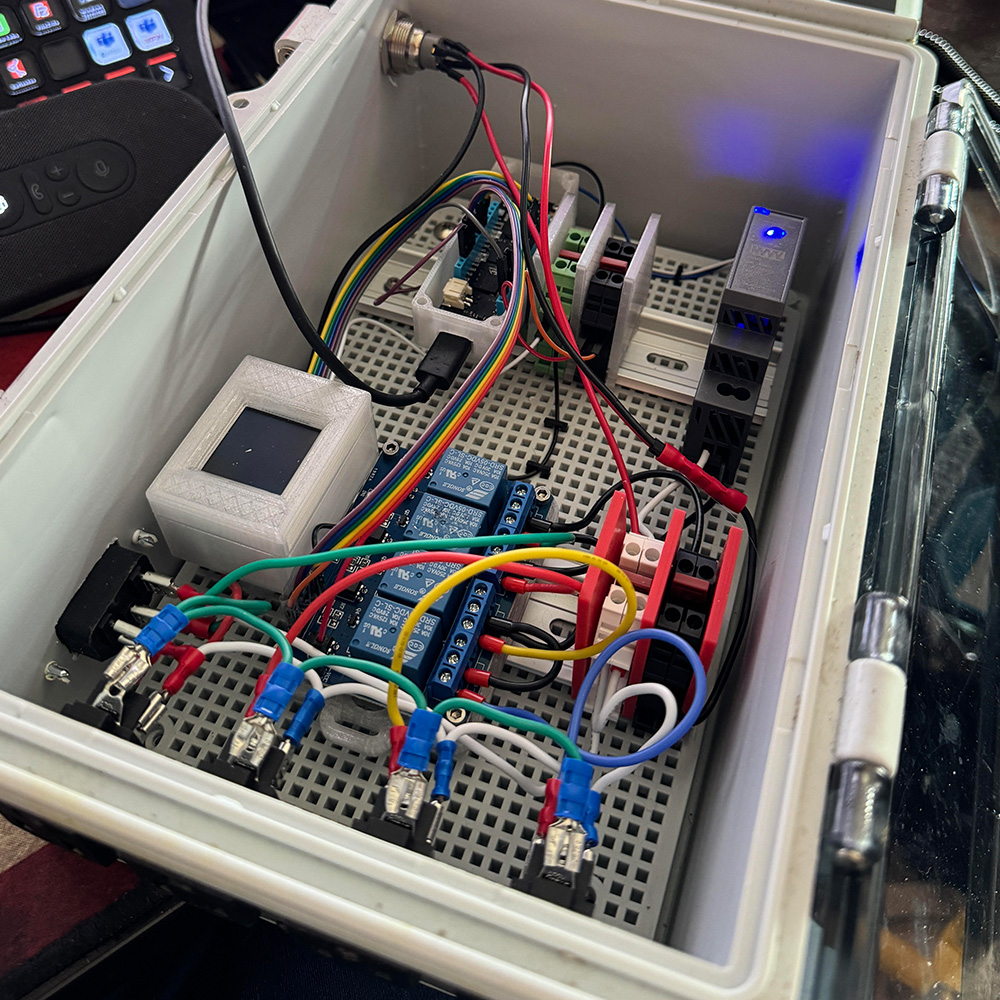
Where do you stash all these components, cables, and miscellaneous parts to get your solution into the field? I have found the quickest solution is to find a project enclosure box. These can be found on sites like Amazon.com by searching for Junction Box or Electrical Project Box. These enclosures are designed to fit in industrial design to hold small components or an intersection of electrical wires that need items like connectors, circuit breakers, or relays. Some of them have clear fronts with hinges to allow you to open them with ease, and others are completely covered and use screws to hold the lid onto the body.
Enclosure Considerations:
- Heat – Will your IoT application produce heat that must be released from the enclosure?
- Vibration – Does your enclosure and equipment need to react to above-normal amounts of vibration or disturbance?
- Water / Weather – Should you be prepared for your enclosure to be outside and in the elements?
- Visibility – Does your application require to be visibly monitored from outside the enclosure without external indicators?
- Access from Outside – Do you want to easily maintain this or protect the components as much as you can?
Mounting Components
Once you have an option selected for the enclosure, how will you ensure the components you have will stay inside the device and not be disturbed when it is moved and installed?
For your first iteration of an idea, literally, try hot glue if your component can use it. It seems like I am kidding, but I am not. You will remove the hot glue when you are ready to iterate your design, and it just takes a little force or a knife, but you will make mistakes.
DIN Rail Mounting System
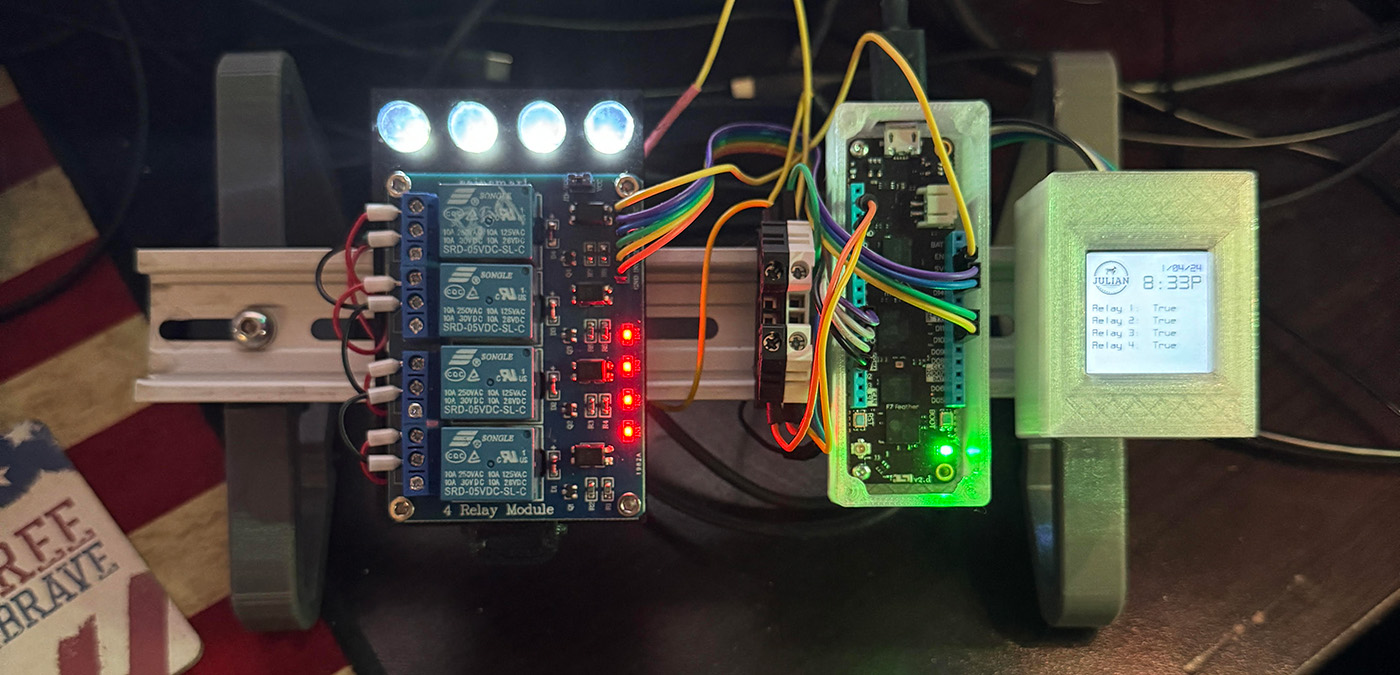
If you are a little down the road on your designs or this isn’t your first project. If you plan on having many more, then I would suggest the approach most engineers and commercial applications use for larger applications, a DIN rail system.
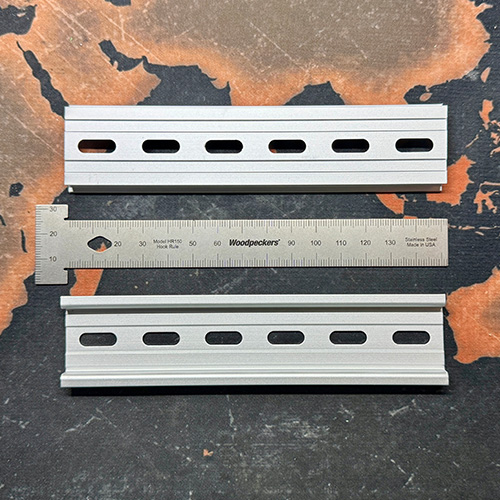
A DIN rail is a piece of bent metal that has been designed to allow different-sized components to click into it for holding. The sizes are a universal standard, so components that fit the required dimensions and specifications can be found locally at electronic supply companies or on sites like Amazon. Many different online communities also offer 3D printable designs that you can have printed or print yourself and then modify when needed.
For example, you may have a design that requires a breadboard for wiring your components together, and you want to test it in a different environment than your desk. To quickly do this, you can:
Mounting the breadboard with hot glue in the enclosure causes a little pain when removing it, but your wires will stay put.
- Mounting the breadboard with hot glue in the enclosure causes a little pain when removing it, but your wires will stay put.
- Use a DIN rail mount for the breadboard, and the next time you need to do this, you can pull that component out of your supply kit and click it onto the enclosure.
Check out this article to learn more about DIN rails and their associated components.
What’s Up Next
In the next article, I will discuss some components you can use with an IoT prototype to help get your project off your desk and into the real world.


